I saw a tutorial on
She's a Sassy Lady last Saturday with a cut card. (Click on the link to see the post). She challenged people to make this card and, liking a challenge (and the card) I accepted. It proved to be more of a challenge than I thought and I learned a lot of lessons along the way.
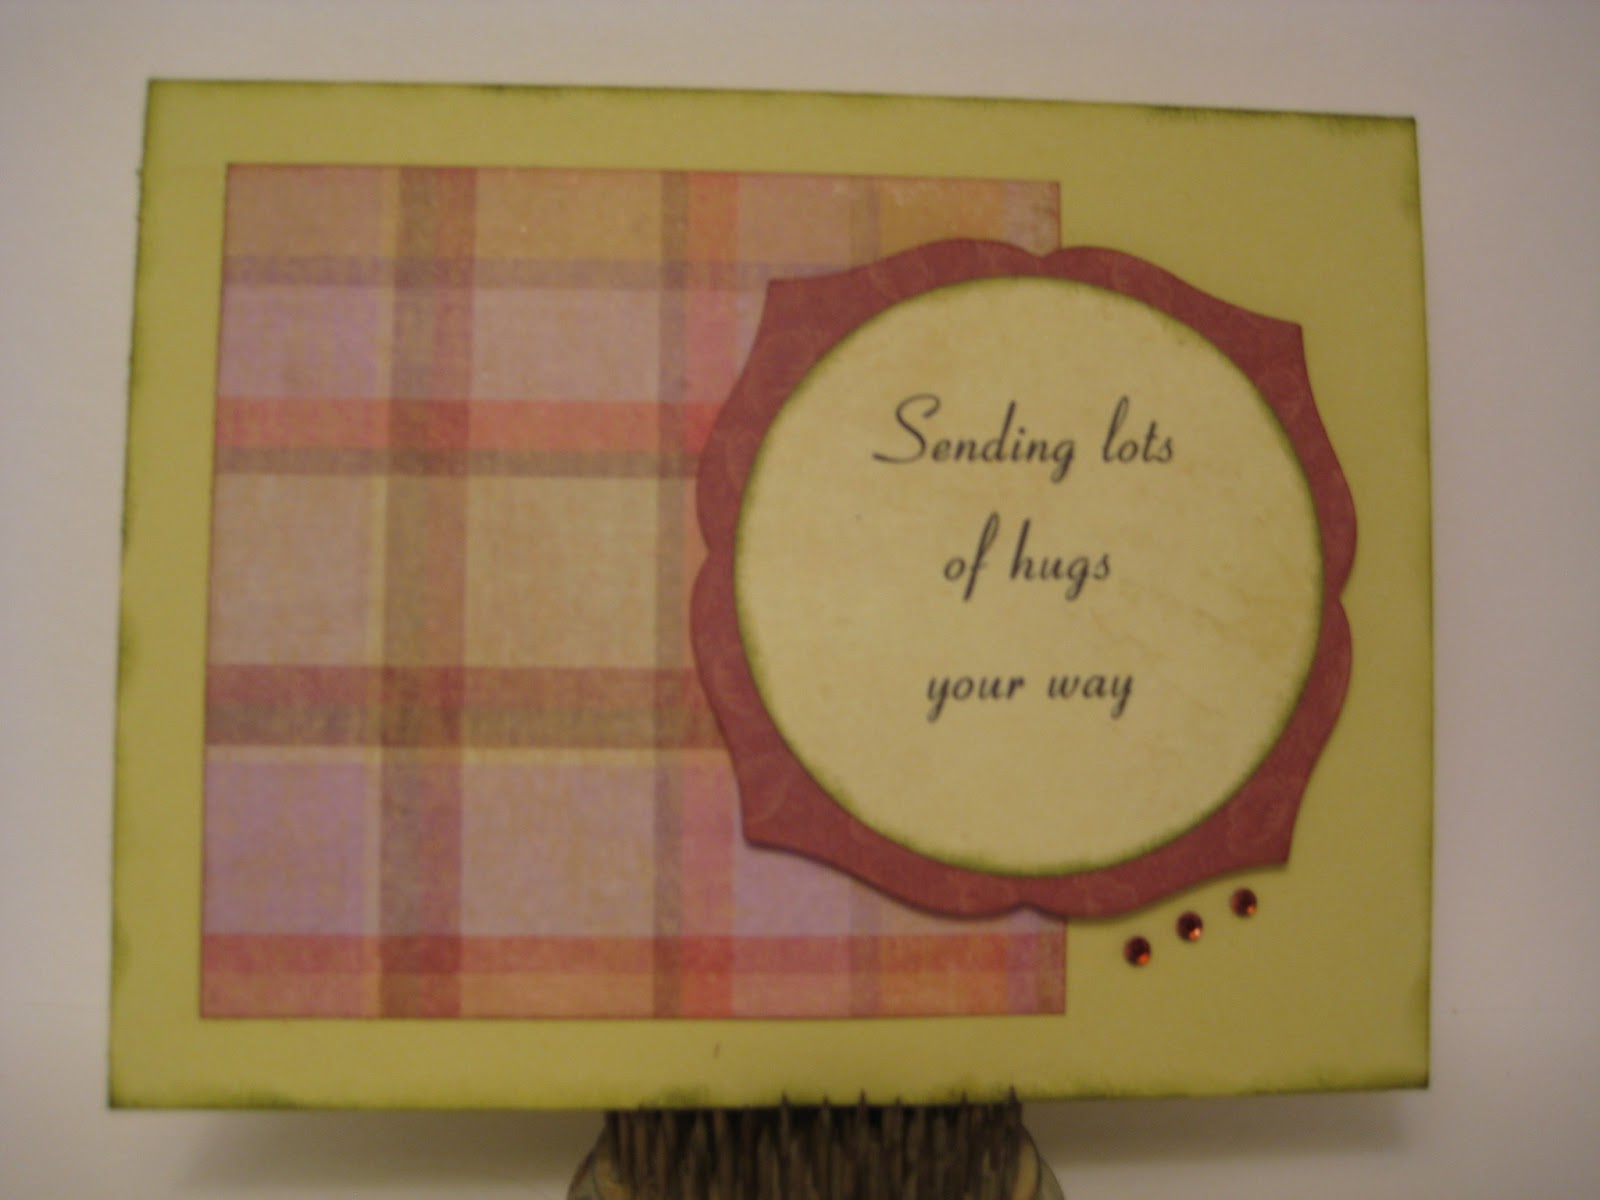
Just so you don't get bored with my long post, I'll show you the finished card up front. It is 5 1/2 by 5 1/2 and a little difficult to see in this picture because of the shadows but I couldn't help that. It's the way the card is made.
When I learn something new, I like to follow directions initially. I'm big on reading manuals, too. (insert smirk). I couldn't follow all the directions in the tutorial and hence the challenge. First - it was a Gypsy tutorial and I don't have a Gypsy. But I do have Design Studio and there's always Cricut Craft Room. I started out in CCR but it drove me crazy and since I'm more familiar with DS, I ended up using it.
Second - I don't have Birthday Bash, which is what Sheila used. Okay, there's plenty of other card cuts, right? I needed something with a big window and couldn't find a full card cut like that. I tried to make my own. Lesson - you can't weld a square in a square with lettering on top and have it cut out part of the window and the lettering. It showed the cut all around the square. I ended up using a frame from Stretch Your Imagination , page 33, and welding it to a square from George.
Third - I didn't have a "Get Well Soon" sentiment on any of my carts. I didn't want to spend hours trying to make my own so I went with "With Sympathy" from Wild Card. Lesson - don't make a cut out with an "I" in it. There's no place to put the dot. : ( I hope this still qualifies for Sassy Lady's challenge.
I used double sided paper so the inside would be pretty. Lesson - be sure your paper is placed in the right way if there is a directional image on the reverse side. Fortunately for me, the reverse was stripes and I like them going horizontally but if I didn't. . . .
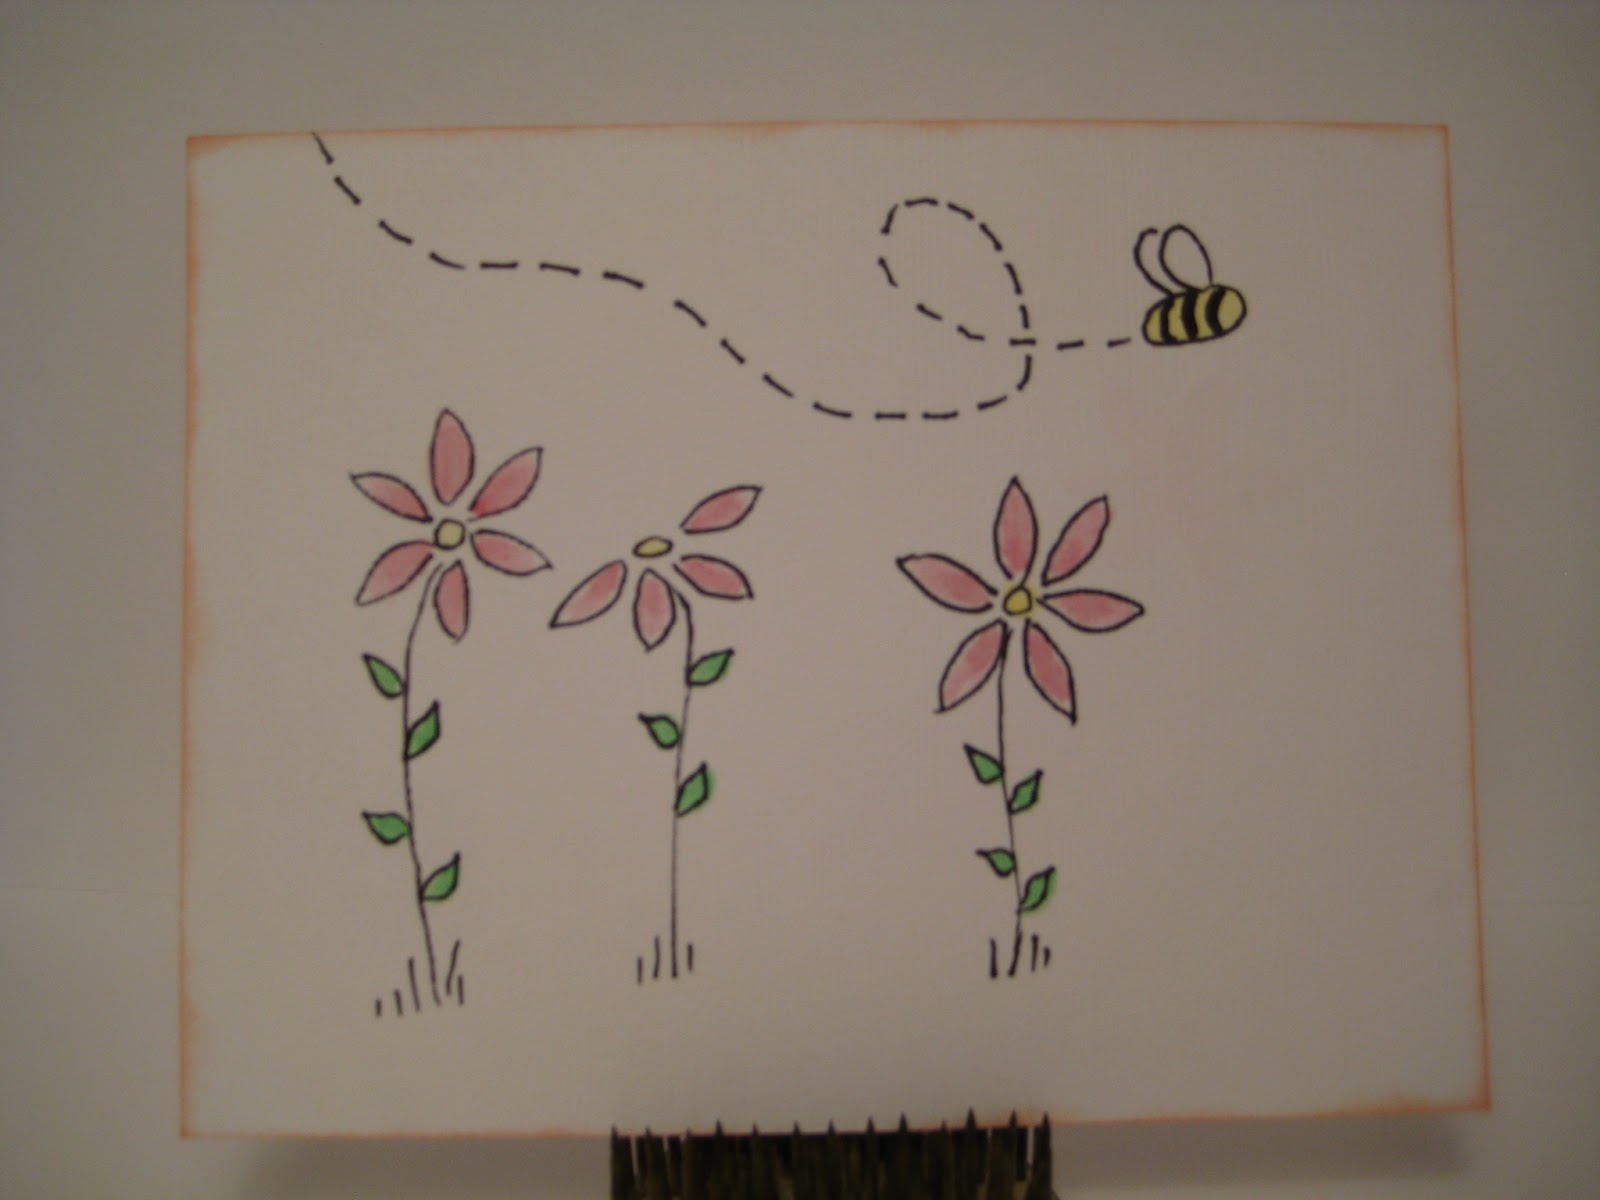
Now that I've either taught you or bored you, here are pictures of the card from other angles.
I printed the sentiment on the computer on a cream color cardstock and cut it 5 1/4 by 10 3/4. I taped down only the back edge. I did this so the sentiment would not show through the cut on the front. I wrapped a piece of ribboon around the middle and tied it in front.
You can see how it is loose.
I didn't have any glitter paper that matched so I heat embossed the sentiment with sparkle embossing powder.
Now that I have learned all my lessons, I think I will try a similar card again. I'm also entering this in
My Craft Spot's Inside Out challenge #51 (a sentiment on the inside and outside)