Thursday, June 30, 2011

Happy Anniversary

I love the look of the silhouettes on A Child's Year and decided one would make a great anniversary card.


I used plain white cardstock for the A2 card base and printed the sentiment directly on the front from my computer.  The background paper is from a black and white stack by Making Memories.  The oval and it's shadow are also cut from A Child's Year; navy for the shadow and white for the top layer which is cuttlebugged with Divine Swirls.  I had some matching (thankfully) navy ribbon that I ran across where the background ended. 

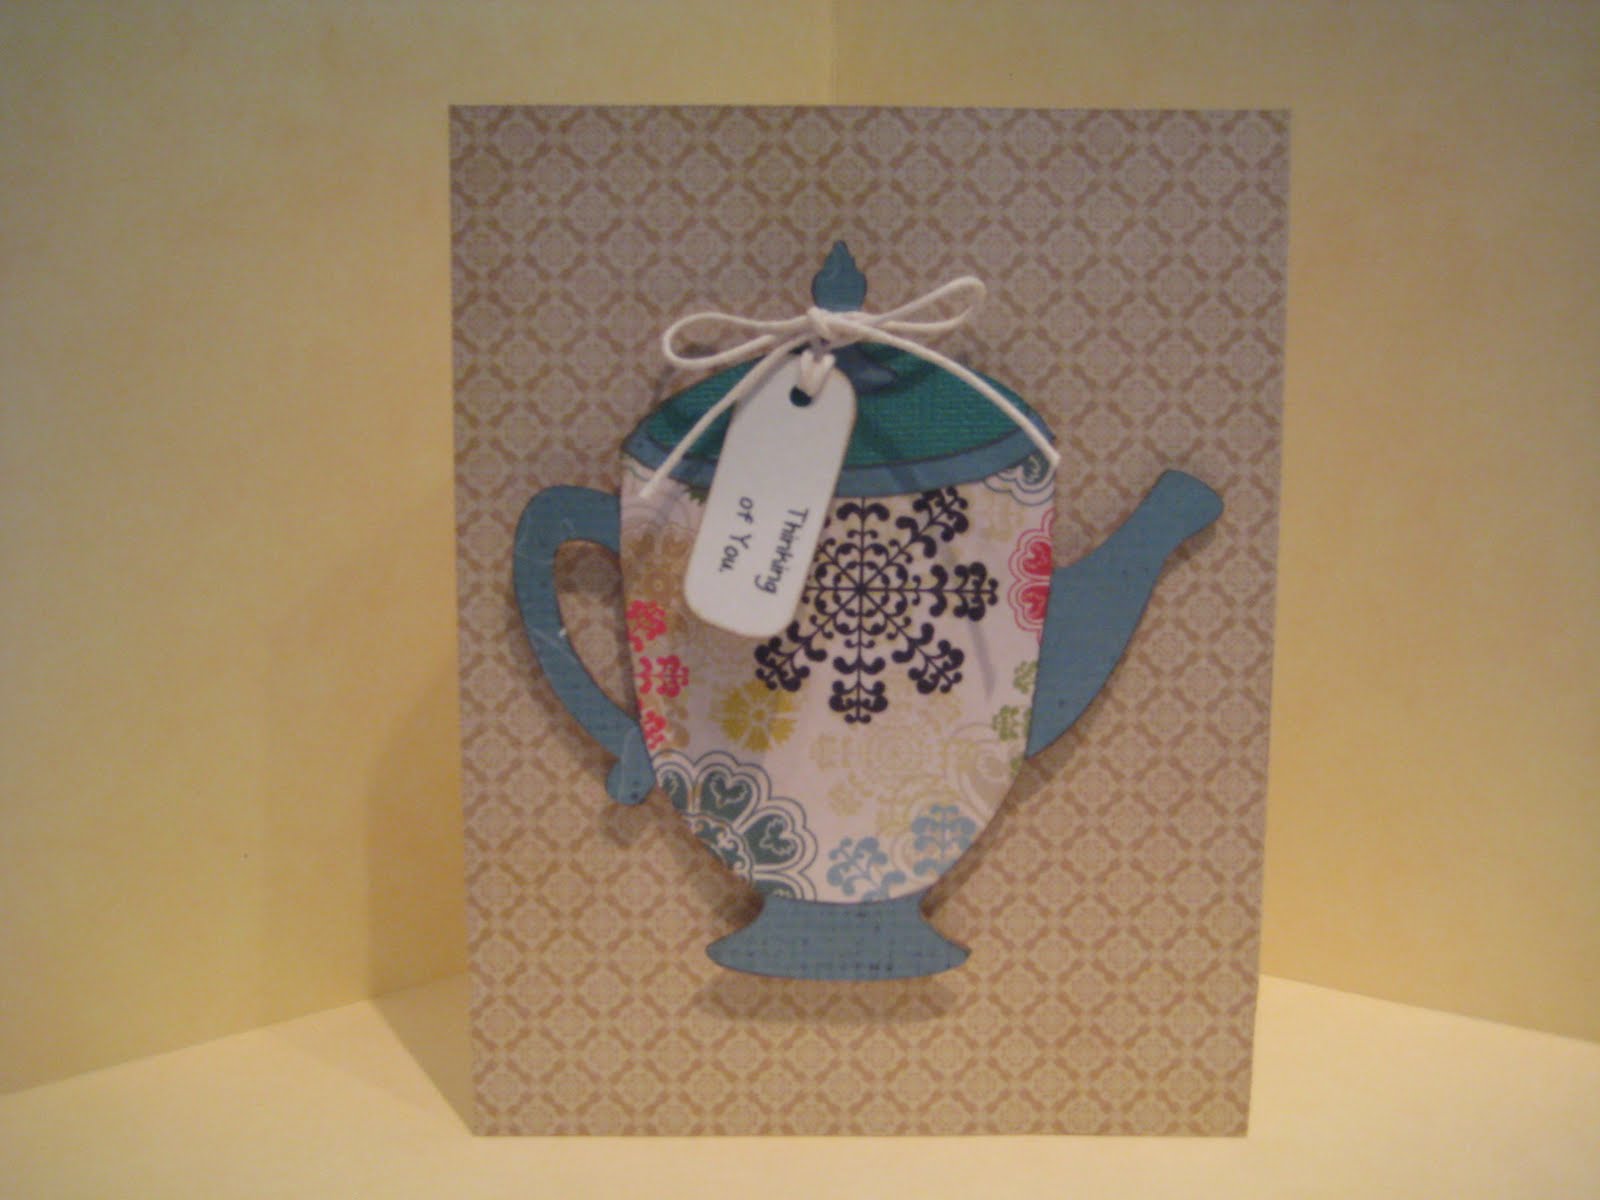
I'm sorry the photo quality is not very good.  I need to work on lighting.

Wednesday, June 29, 2011

Red, White and........Purple?

Believe it or not, I don't have any red and blue paper.  I have lot's of plain red and white, of course, but no blue or prints containing those colors.  So my solution is to post my red, white and purple "Red Hatter" birthday card.

The hat is from Kate's ABC and I bought that cartridge because it has several hats on it that I can use for the next few years.  The card is an A2 size, cut from red cardstock with the sentiment printed from my computer..  The background is white cut 4 x 4 1/2 and embossed with the Damask cuttlebug folder.  The bottom layer of the hat is cut from purple as is the middle layer of the flower.  The hat is from the same red as the card.  The bottom layer of flower is the leaves cut in green, and the top is a lighter purple.  I didn't want the center of the flowers to be green so I punched some gold with a regular paper punch and glued them on between the green and purple layer.  I added a strip of purple ribbon at the botton of the white to add a little more purple and some shine.  I send the cards anonymously but those who know me well have probably figured out it's me, the litlle old cardmaker.

Monday, June 27, 2011

High Five

I was at the lake on Saturday, opening up and cleaning my parents cottage so I didn't get any crafting done that day.  Sunday I got the urge to do some actual scrapbooking and have been working on that for the last two days.  I decided I'd better not neglect my blog so I came on to post an older (by that I mean a couple of months) card.  For some reason the one I wanted to post would not come up right and I couldn't find a way to turn the picture in the right direction.  It was oriented the way I wanted it in my picture file but came out sideways on the blog post.  So on to choice number two.
This card could be used for graduation, new job, any accomplishment really.  The card is just white cardstock from WalMart cut 5 1/2 by 8 1/2 and scored at 4 1/4.  The first layer is cut 5 1/4 by 4 in red.  The "quote" paper is cut 5 by 3 3/4.  The "High Five" is cut from Lyrical Letters and the hand from A Child's Year (page 37).

Friday, June 24, 2011

One of my earlier cards

The whale is from the Just Because Cards Cricut cartridge and cut from coredinations paper in gray.  The edges are inked with Distress Ink in  Black Soot. The background is a scrap of blue cut at 5 1/4 by 4 and embossed with the Cuttlebug Spots and Dots folder.  The sentiment was printed in a bubble on my computer program, cut out by hand and inked.  Inside it says, "Have a whale of a day!"

I'm relying on my memory for most of the information on some of my earlier cards.  I had the foresight to take pictures but didn't know at the time that I would begin a blog and need to know the recipe for each card.  It's easy to figure out a cartridge cut but harder to tell about the paper.  Almost all of my paper comes from JoAnn's since that's the closest store to me. 


Wednesday, June 22, 2011

Quick and Easy

Before I got my Cricut,  I purchased a number of DCWV colored cards with envelopes.  I sat down one day and made a number of quick and easy cards.   This one  uses a  green card.  Over it is a white layer cut at 5 1/4 by 4, with the sentiment printed at the bottom on the computer with green ink.  The argyle paper is from a 4 1/2 x 6 1/2 stack whose name I don't remember.  I love the way the pink ribbon repeats the white stitching in the paper.  The ribbon is Craft Essentials, purchased from JoAnn's.

Tuesday, June 21, 2011

Bit of Inspiration

I'm finally getting the hang of it.  I started a notebook where I can write down what paper I use, and what cuts, etc. for my cards.  That way when I get ready to post the pictures, I can rely on my notes instead of my memory.  Most of you probably already do that but being new to this blogging thing, it took a while to sink in.

This card was made for the "bit of inspiration" post at Capadia Designs.  Diane challenged us to make a wedding card in black and white inspired by one she posted (that she didn't make btw).

The card is made from white Walmart cardstock in an A2 size.  The edge of the card was cut from MS Elegant Cake.  I welded two of the cuts onto a rectangle from George and hid the contours of the cut-out portion.  Then I took those two cuts and hid the outside contours, cut the inside in black and glued them in place.  Using paper from a Making Memories black and white stack that I picked up at a Tuesday Morning, I cut three strips at varying widths.  A small piece of velvet ribbon separates two of the strips.  The sentiment design is also from MS Elegant Cakes cut in black and mounted on it's white shadow.  I love that it has hearts on it.   The "For You" was printed on the computer and then placed  under a sample cut to know where it would come out on the design.  A little rhinestone bling and the card is complete. 

Monday, June 20, 2011

New Carts

I was a little naughty last week and bought 4 new cartridges.  It's not like a have a lot of them now, only 16.  And a couple of these I had a specific use for.  Two came from WalMart.  I wanted the Handyman cart for all the construction projects I need to scrap and saw Twinkle Toes on sale while I was there.  Perfect for my ballet dancer granddaughter. 

I ordered Simply Charmed from JoAnn Fabrics a while ago when they had a sale but it was out of stock.  Not to worry.  I bid on it and Happy Hauntings on eBay and now they're mine, too.  That will be it for a while.  I just have to get busy and make cards with them.

The first one I used was Handyman. 
The drill was cut at 4" from red, black and silver paper.  The background is a wood-look piece from DCWV textures and finishes stack.  The sentiment is printed on the computer and then ink stained and attached with nail colored brads.  The sentiment continues inside with "wish you the happiest of birthdays."

Sunday, June 19, 2011

Happy Father's Day

This is the card I gave to my wonderful Dad today.  I scrap lifted it a while ago so I don't remember from where.  The basic card is kraft paper and the rest is made from scraps with "Dad" cut from Lyrical Letters and the back square embossed with the "Tiny Mosaic" cuttlebug folder.  Everything got antiqued with Vintage Photo Distress Ink and the squares foam mounted.

Friday, June 17, 2011

Masculine birthday

Many card creators have mentioned having trouble making masculine cards.  This is an easy one made from an old DCWV stack called "Photo Stack 2".  The card is 5 1/8 by 7 and I covered the entire front with the rivet paper.  The happy birthday was cut from the MS Elegant Cakes cartridge using denim from the stack and shadowed in gray (although the picture may look white.)  Inside it says "Have a riveting birthday."

Wednesday, June 15, 2011

My Design Studio has been down since Saturday so I haven't done any new cards and am anxious to get back to making some.  Thanks to the great - and I mean helpful AND friendly- customer service at ProvoCraft, it's back working now.  I'm sorry I waited so long to call.

You don't always need a Cricut to make great cards.  This one is made from a purchased card base in yellow and a scrap of daisy print mounted on gray.  The tag is printed on the computer and cut with a punch.  Add a little matching ribbon and voila, a quick and easy card.

I guess my next venture should be taking better photos.  They show up much brigher and clearer on the camera and in my folder than they do here.

Monday, June 13, 2011

The cat's meow


I usually use my DS to cut all my carts so I'm not sure of the size but the cat was cut from Cindy Loo as was the scalloped oval.  The bottom layer was cut in brown for the facial features and feet.  The next layer was cut from a cream, and the main layer from DCWV stack called textures and finishes.  I thought it looked like fur.  I substituted a bow where the flower was on the head and used dimensionals to raise it up both the pink oval and the cat.  Inside it says "Have a purr-fect birthday!"

Saturday, June 11, 2011

Happy Birthday "Stretch"

This is another "monarch" card using Stretch Your Imagination cartridge.  The white cardstock is cut 7" x 7" and scored at 3 1/2.  The navy layer 6 3/4 by 3 1/4 and the confetti layer 6 1/2 by 3.  I used Design Studio to plan it all out and only used parts of the layers.  I did't like the yellow stand running under the navy so I cut it off.  The finishing touch is sparkles on the flames.

Thursday, June 9, 2011

MPS Challenge

Being new to blogging, which I began so I could link pictures, I have done only one challenge before this.  This challenge was put out by My Pink Stamper asking us to use the colors orange, aqua and green.  I used a cut from Cindy Loo for the flower and mounted it with foam on 4 layers of cardstock in the required colors, topped by a printed paper from DCWV called "flower names".  It just happened to have all the colors in it.

Cindy Loo, who?

Everyday Cricut had a card today using this same cut from the Cindy Loo cartridge.  I just recently acquired this cart and this is the first card I made from it.  I printed the sentiment from my computer trying to match the color ink to the stem.   I used a MS punch down both sides.  You can tell I'm new at this.  I don't know the name of the punch or paper I used.  Some bloggers do a very good job letting you know exactly what they used for every card, and I appreciate that, but I usually like to do my own thing anyway.  : )

Sunday, June 5, 2011

My take on vintage wallpaper

Capadia Designs challenged us to make a card using some of her pictures of vintage wallpaper as an inspiration.   This teapot is from Kate's ABC's.  I cut 2 images, then cut them apart to make the handle, spout, base and lid and inked all the edges.

Thursday, June 2, 2011

Another graduation card

This is what I call a "monarch card" because that is what they call the envelopes I ordered online to fit..  The card is cut at 7" x 7" and scored at 3 1/2.   I used graduation paper as a background and the school colors for the first layer and for the year.